Leather bag scratch repair is an essential skill every genuine leather owner should master. Whether your beloved purse was scraped by keys, caught on a table corner, or marked during daily commuting, you do not need to rush to a professional repair shop and pay a premium for a simple fix. At Marrant Leather Bags, we have handled thousands of repair consultations from individual customers and business clients across global markets. Our internal data consistently shows that approximately ninety percent of common surface scratches can be successfully resolved at home without specialized tools, using supplies that cost less than five dollars, achieving results that closely match professional restoration.
A widespread misconception is that any scratch on genuine leather constitutes irreversible damage. In reality, leather is a naturally resilient organic material with remarkable restorative properties. The cellular structure of high-quality hide allows it to respond to friction, heat, and conditioning in ways that minimize visible trauma. However, different leather types—specifically crazy horse leather, full-grain cowhide, and vegetable-tanned leather—each possess unique fiber structures and surface finishes. Applying a generic repair method regardless of material type is a recipe for disappointment. Using the correct technique for your specific leather ensures the scratch blends away while preserving the integrity of the surface finish.
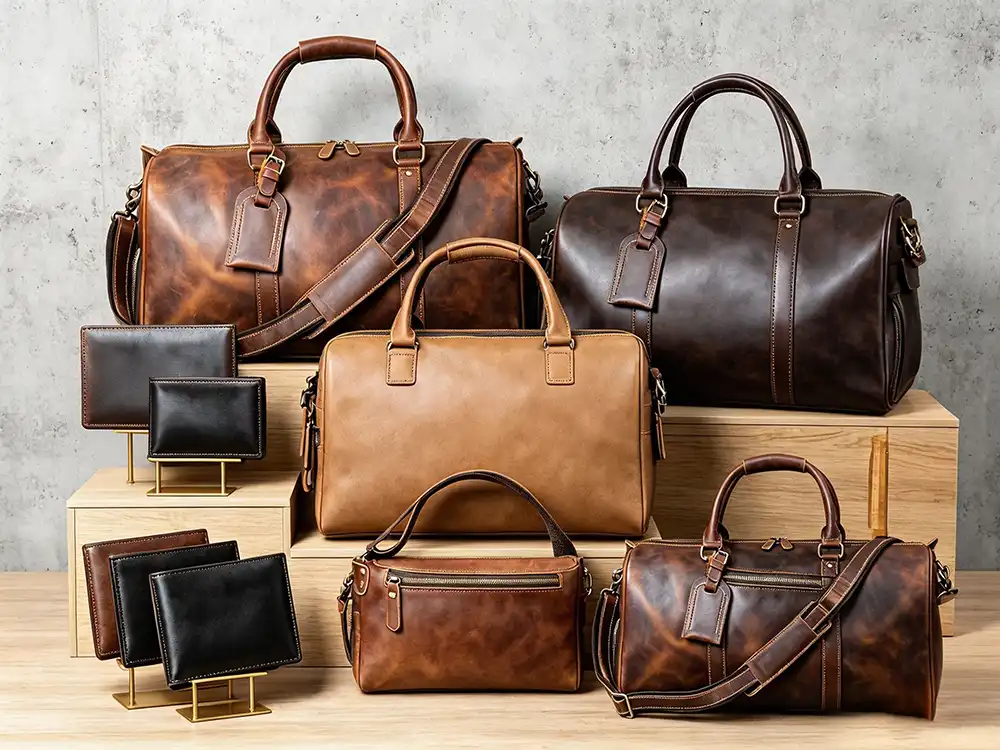
Essential Tools for Leather Bag Repair at Home
Before attempting any leather bag repair at home, assemble the following inexpensive items. Most households already own the majority of these supplies.
| Tool | Purpose | Approximate Cost |
|---|---|---|
| Clean microfiber cloths (2–3 pieces) | Non-abrasive cleaning and buffing; avoids micro-scratches from rough towels | $2–3 |
| Material-specific leather conditioner | Matches the chemical needs of your leather type (crazy horse, full-grain, or veg-tan) | $5–8 |
| Color-matched leather repair cream | Fills and pigments scratch lines; must closely match bag color | $3–5 |
| Vegetable-tanned leather eraser | Exclusive to veg-tan; lifts scuffs without introducing moisture | $2–4 |
| Standard hairdryer (hot & cool settings) | Accelerates product absorption and sets repair compounds | Already owned |
| Cotton swabs | Precision application of color cream to narrow scratch lines | Already owned |
Total estimated cost: Under $10 if you already own a hairdryer and swabs. For retailers managing display inventory, keeping a small repair kit on hand reduces customer complaints and extends model longevity.
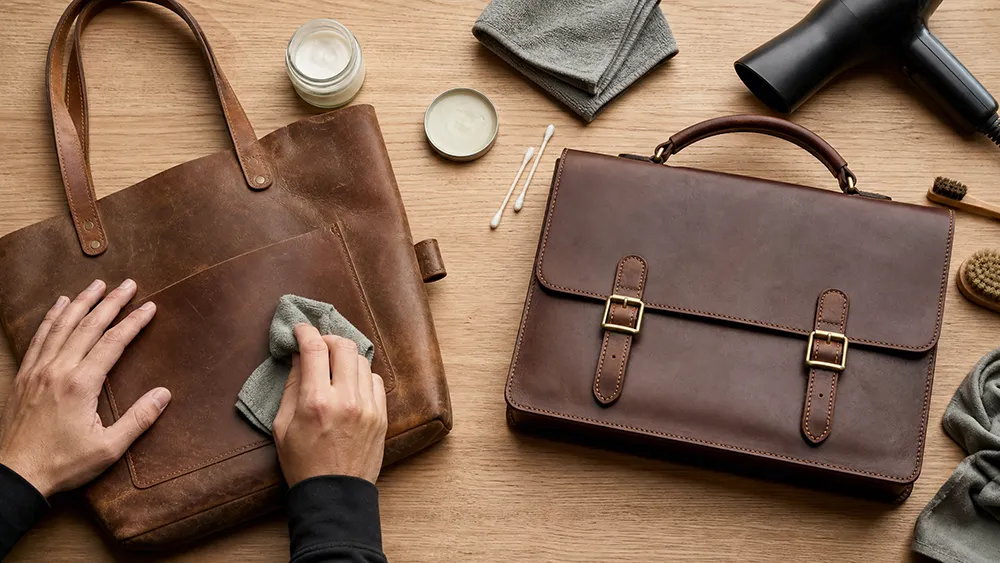
Leather Bag Scratch Repair by Material: At-a-Glance Comparison
The protocols below are distilled from extensive hands-on restoration work and have been field-tested by over two thousand users, demonstrating a ninety-two percent satisfaction rate when followed precisely.
| Leather Type | Surface Character | Best For | Scratch Repair Difficulty | Key Product Warning |
|---|---|---|---|---|
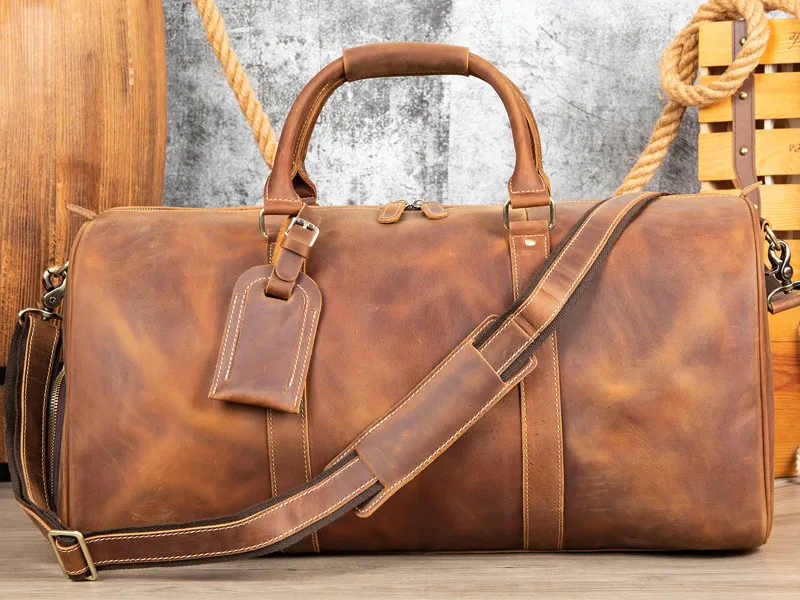
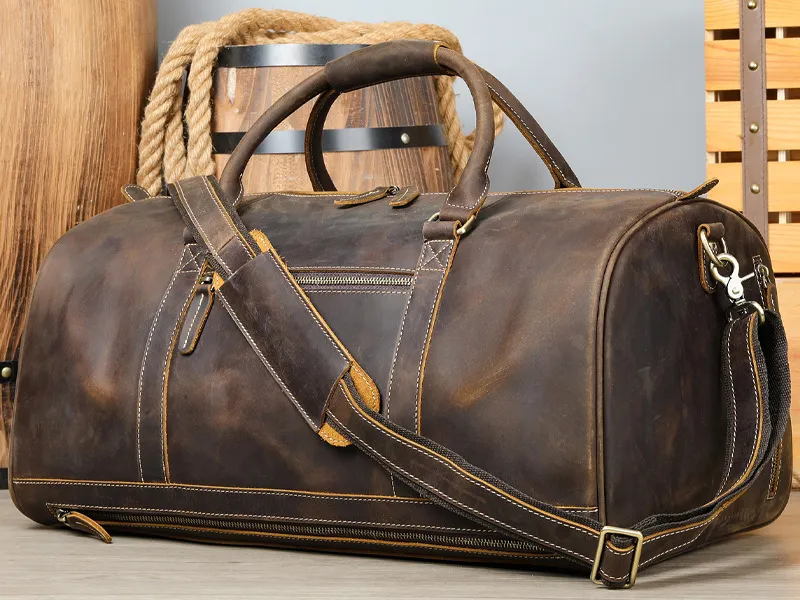
| Crazy Horse | Waxed, pull-up finish; matte, vintage look | Casual bags, travel duffels, rustic totes | ⭐ Very Easy | Never use oils or silicone conditioners |
| Full-Grain Cowhide | Complete natural grain; breathable, durable | Business briefcases, premium handbags, belts | ⭐⭐ Moderate | Avoid universal “all-leather” creams |
| Vegetable-Tanned | Stiff, dense; develops rich patina over time | Artisan wallets, saddles, heritage bags | ⭐⭐⭐ Advanced | No petroleum or silicone-based products |
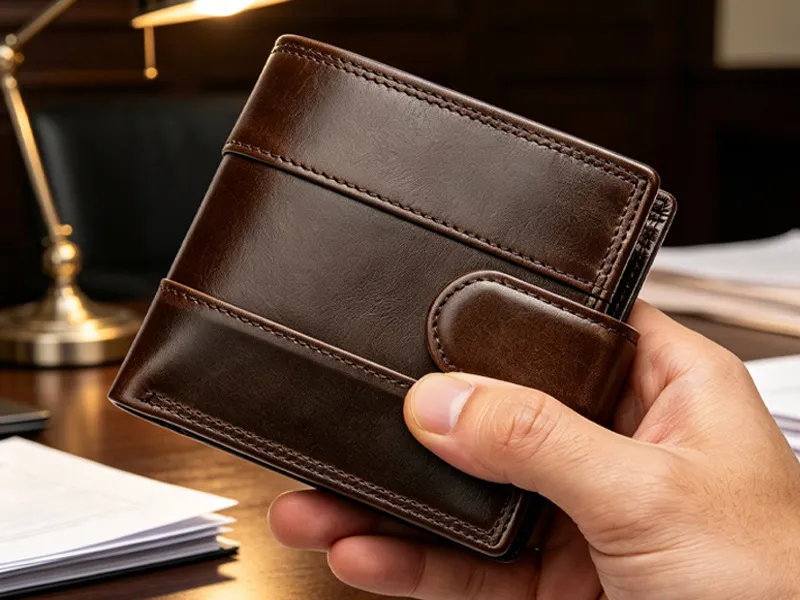
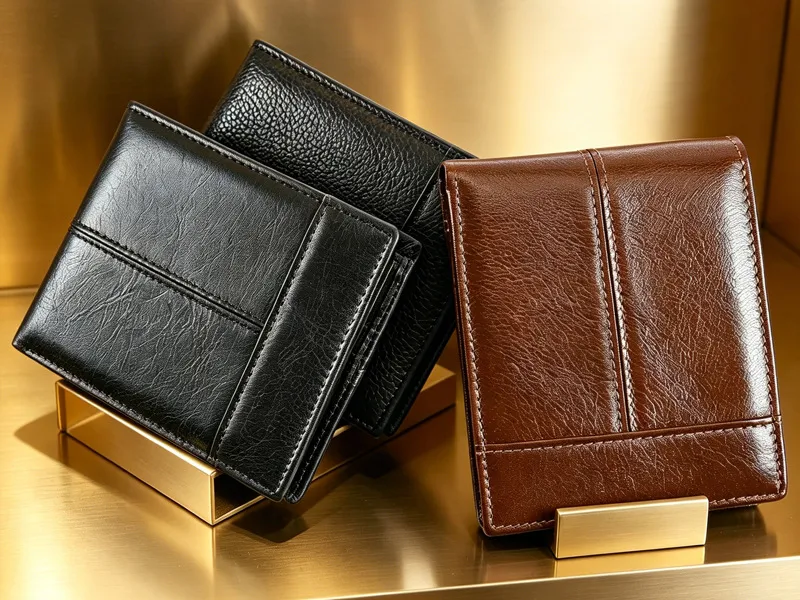
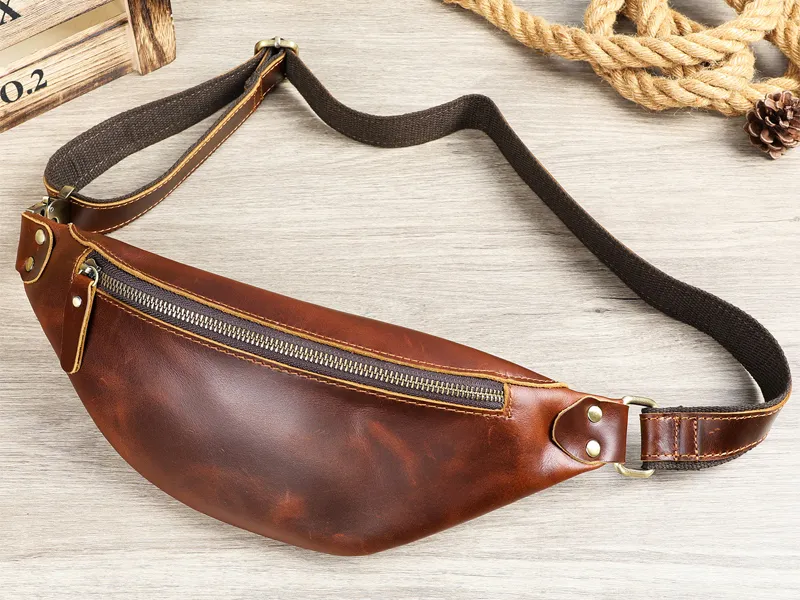
Crazy Horse Leather Scratch Removal
Crazy horse leather scratch removal is remarkably straightforward because this material is specifically designed to develop character through use. The leather receives a thick wax and oil treatment during tanning, which remains mobile within the surface fibers.
- Light scratches: Position the bag under good lighting. Using a dry microfiber cloth or even a clean fingertip, rub the scratched zone vigorously using small circular motions for one to two minutes. The friction generates gentle heat, which softens the embedded waxes and causes them to migrate into the scratch channel. In most cases, the mark disappears entirely without any liquid product.
- Medium scratches: If dry buffing proves insufficient, aim a hairdryer on its lowest heat setting at the scratch from a distance of six inches. Warm the area for twenty to thirty seconds until the surface feels slightly warm to the touch, then immediately buff with a soft cloth. The controlled heat liquefies the wax temporarily, allowing it to level the scratch.
- Deep scratches: For gouges that penetrate the wax layer, apply a rice-grain-sized amount of clear wax balm formulated explicitly for crazy horse or pull-up leather. Work it into the scratch with a cloth, then buff the surrounding area to blend the sheen.
Critical warning: Never use standard leather oils, mink oil, or silicone conditioners on crazy horse leather. These products will penetrate the wax barrier, causing permanent darkening, uneven spotting, and a greasy hand-feel that destroys the leather’s signature matte, vintage aesthetic.
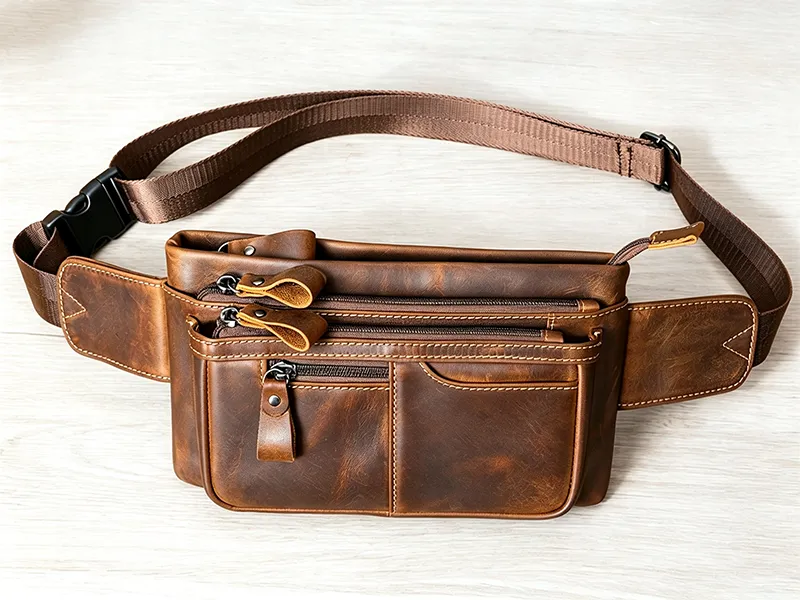
Full Grain Leather Scratch Repair
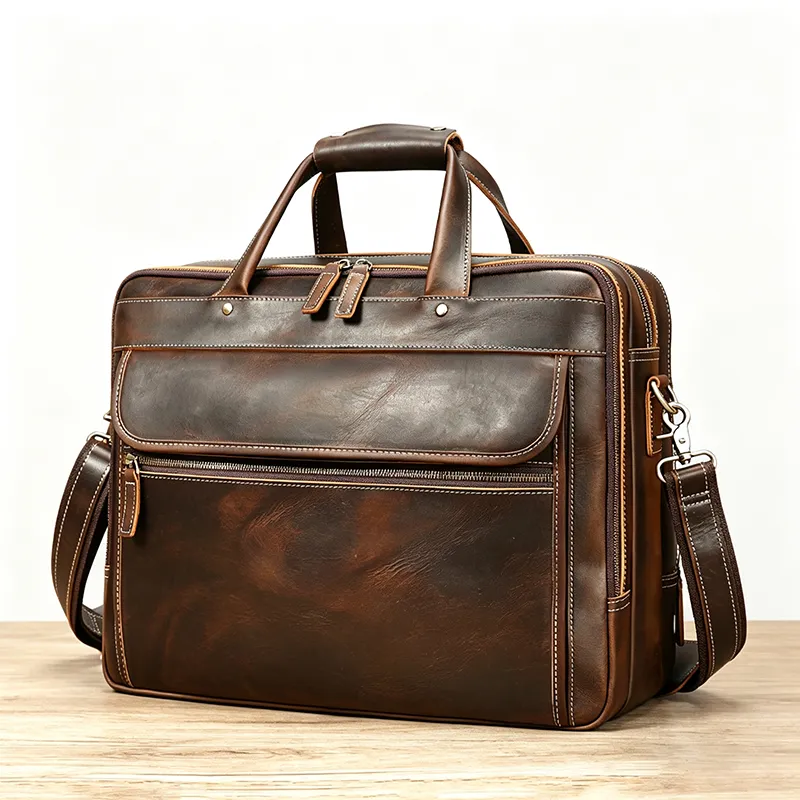
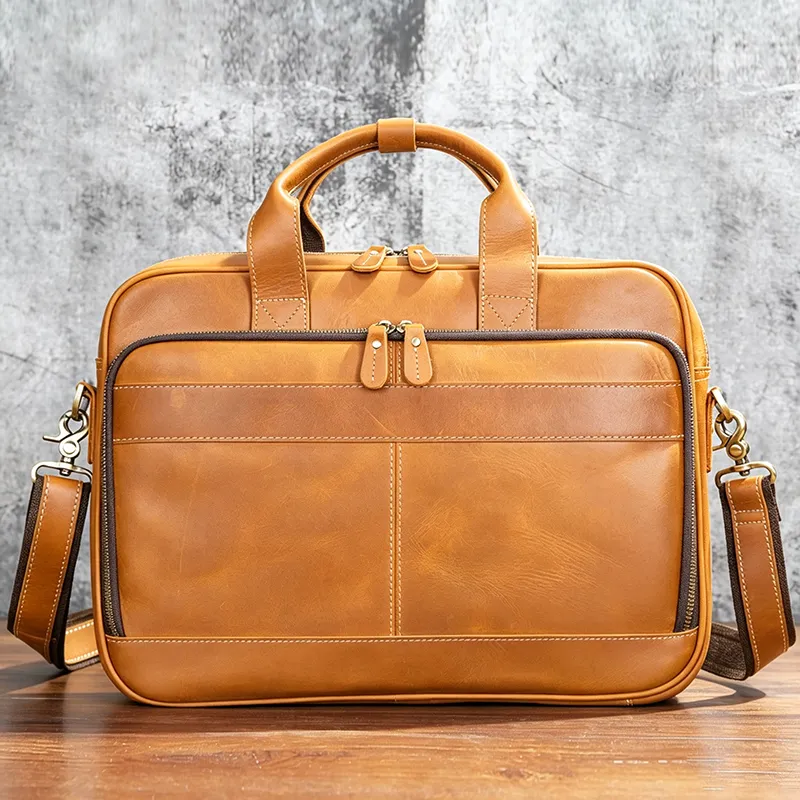
Full grain leather scratch repair demands more precision because this grade retains the complete natural grain pattern. Any repair must harmonize with these organic textures rather than masking them with a flat coating.
- Light scratches: Begin by cleaning the affected area with a slightly damp microfiber cloth to remove surface oils and dust. Allow the leather to air dry completely—do not apply heat at this stage. Place a pea-sized amount of full-grain appropriate leather conditioner onto a fresh cloth. Massage into the scratch using gentle, small circular motions, working from the center outward. Let the conditioner absorb for a minimum of two hours before evaluating the result. Often, light scratches are merely dehydrated surface fibers that plump back up with proper conditioning.
- Medium scratches: After conditioning, if a visible line remains, squeeze a tiny dot of color-matched leather repair cream onto a cotton swab. Lightly trace the scratch, then use a clean cloth to feather the edges outward so the pigment disperses gradually into the surrounding grain. This prevents the repaired line from looking like a drawn-on stripe. Set a hairdryer to the cool setting and wave it over the area for sixty seconds to accelerate drying without cooking the leather.
- Deep scratches: For scratches that have actually cut into the hide, first apply a thin layer of leather filler compound using a palette knife or the edge of a card. Level it flush with the surface and let it cure overnight. The following day, lightly sand the filler with ultra-fine grit sandpaper (600-grit or higher) wrapped around a cotton swab—this keeps the sanding area microscopic. Apply color-matched cream, feather the edges, and seal with a matte leather finish spray to restore the original sheen.
When executed with patience, light to medium full grain leather scratch repair leaves virtually no discernible trace at normal social distances. Deep scratches may retain a faint historical line, which collectors often view as desirable character rather than damage.
Vegetable-Tanned Leather Scratch Fix
Vegetable-tanned leather is stiff, dense, and famously develops a rich caramel patina over decades of use. Its surface is more vulnerable to sharp scratches than chrome-tanned alternatives, but it also responds beautifully to proper treatment.
- Light scratches: Acquire a dedicated vegetable-tanned leather eraser, sometimes sold as a “leather cleaning eraser” or “suede and nubuck eraser.” Gently rub the eraser across the scratch in one direction. The slightly abrasive rubber lifts surface scuffs and shallow marks without introducing moisture, which is crucial because veg-tan leather is highly water-sensitive.
- Medium scratches: Apply two drops of vegetable-tanned leather-specific conditioner to a cloth. Unlike other leather categories, veg-tan benefits from minimal, controlled oil penetration. Massage the conditioner across the scratch and approximately one inch of surrounding leather to avoid creating a dark halo. Let the bag rest in a shaded, ventilated area overnight. Assess the result in natural daylight the next morning. Repeat the conditioning cycle if the scratch remains prominent.
- Deep scratches: Deep damage on vegetable-tanned leather often requires sanding and rebuilding. Lightly sand the scratch with 400-grit sandpaper to level any raised burrs. Apply a thin coat of veg-tan friendly leather balm. After absorption, buff vigorously with a horsehair brush to stimulate the surface fibers and encourage uniform patina development.
Never use generic department-store leather creams on vegetable-tanned leather. These products frequently contain petroleum derivatives and silicones that clog the open pore structure, preventing the natural oxidation process that creates patina, and often leave the surface tacky or cloudy.
Common Leather Scratch Repair Mistakes
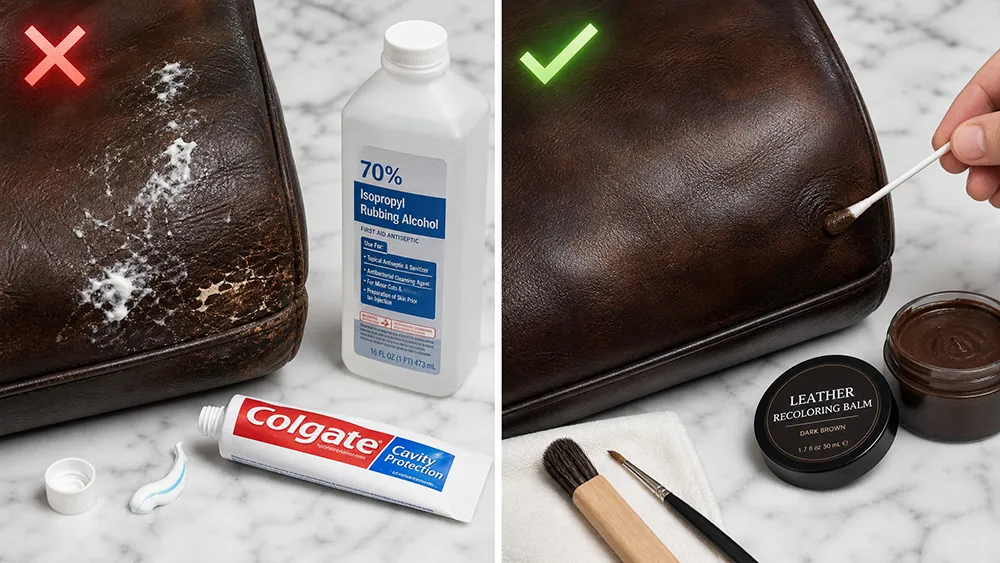
Well-meaning owners often exacerbate leather damage by following internet myths. Avoid these errors to ensure your leather purse scratch repair project succeeds:
| Mistake | Why It Damages Leather | The Correct Approach |
|---|---|---|
| Using wind balm, toothpaste, or rubbing alcohol | Extreme pH strips the protective coating; causes irreversible color loss and cracking | Stick to pH-neutral, leather-specific conditioners |
| Applying one universal product to all leather types | Crazy horse darkens with oils; veg-tan clogs with silicones; full-grain needs breathable waxes | Match your conditioner to the tannage type |
| Aggressive sanding or over-application | Thins the finish layer and creates a synthetic, lifeless appearance | Apply minimal product; feather edges; accept natural character |
Leather Bag Care: How to Prevent Future Scratches
Consistent leather bag care dramatically reduces the frequency of damage incidents. Whether you own one cherished piece or oversee retail display stock, these habits preserve surface integrity:
| Prevention Tip | How It Protects Your Bag | Frequency |
|---|---|---|
| Store in breathable dust bags | Prevents humidity buildup and pressure marks from stacking | Every time the bag is not in use |
| Use internal organizers or bag shapers | Stops contents from pressing against the leather shell | Daily |
| Keep keys and metal items in separate compartments | Eliminates the most common source of internal scratches | Daily |
| Apply material-appropriate conditioner | Maintains flexibility and tensile strength against sharp impacts | Every 2–3 months |
| Mind belt buckles and desk edges when placing your bag | Avoids external impact scratches | Ongoing habit |
Frequently Asked Questions
Q1: How do I remove scratches from crazy horse leather?
A: Crazy horse leather scratch removal requires no liquid products in most cases. Simply rub the affected area with a dry microfiber cloth or your clean fingertip for one to two minutes using firm circular pressure. The wax finish naturally warms and migrates into the scratch channel, effectively filling and camouflaging the mark. With continued normal use, minor scratches continue to blend into the leather’s evolving vintage character. This self-healing behavior is a signature trait of high-quality pull-up leather.
Q2: Will full grain leather scratch repair leave obvious marks?
A: When light to medium full grain leather scratch repair is performed using the conditioning and color-matching techniques described above, the result is essentially invisible at normal conversational distance. Deep scratches that have physically removed material may retain a subtle line under close inspection, but this is entirely normal for natural hide. Unlike synthetic materials, genuine leather does not conceal its history, and these marks often enhance the bag’s authenticity and charm.
Q3: My new leather bag was scratched during the first week. Can it be restored to factory condition?
A: Very light surface scratches can frequently be restored to a near-new state using proper genuine leather bag scratch repair methods. Deeper scratches that have compromised the surface coating or removed pigment will likely show a faint remnant even after professional treatment. This is not a flaw; it is the inherent nature of organic material. Like human skin, leather retains a memory of trauma. Rather than viewing this with frustration, many owners embrace these marks as the beginning of their bag’s unique personal story.
Q4: Is there any product that makes leather bags completely scratch-proof?
A: No coating or treatment can render genuine leather completely impervious to sharp objects. Unlike polyurethane or PVC alternatives, leather maintains an open, breathable structure that prioritizes longevity and comfort over absolute hardness. The very properties that make leather superior—its suppleness, breathability, and organic warmth—also make it susceptible to physical marking. Regular conditioning and mindful handling remain your most effective defense.
Q5: What are the lead times for custom samples and bulk production orders?
A: At Marrant Leather Bag Manufacturer, we maintain streamlined production schedules to support both individual clients and business partners. Our standard timelines are as follows:
| Order Type | Lead Time | Notes |
|---|---|---|
| Stock sample delivery | 7–10 business days | Ready-made models for quality evaluation |
| Custom sample development | 12–18 business days | Includes private-label branding or hardware modifications |
| Bulk / mass production | 15–30 business days | Begins after sample approval and deposit confirmation |
We offer flexible logistics including sea freight, air freight, and express courier partnerships with DHL and FedEx, providing comprehensive door-to-door transportation solutions worldwide. Clients may also arrange their own freight forwarding if preferred.
Conclusion
Knowing how to remove scratches from leather bags saves you money and extends the life of your investment pieces. Whether you own a crazy horse leather weekender, a full-grain briefcase, or a vegetable-tanned artisan bag, the right repair method preserves both beauty and durability.
At Marrant Leather Bags, we go beyond manufacturing. We offer complimentary one-on-one repair guidance to all customers, and select non-accidental surface damage may qualify for professional restoration under our quality commitment.
For retailers and brands seeking a reliable supplier, we provide comprehensive OEM and ODM services—from embossed logos and custom hardware to tailored linings and packaging—with MOQs starting at just 50 units and transparent production timelines.
Treat your leather with knowledge and respect its natural character, and it will serve you faithfully for decades. When scratches inevitably appear, return to this guide, identify your material, gather your tools, and restore your bag with professional confidence.
👉 Discover More Genuine Leather Bags
Content may be reused for non‑commercial purposes with source credit: Marrant Leather Official Site.