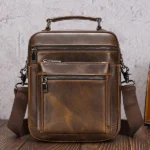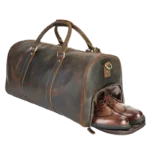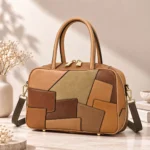
A leather bag sample approval checklist is the short list of checks you run on a finished sample before you tell the factory to start bulk production. If you skip it, the 500 bags that arrive may match the factory’s memory of the conversation, not the bag you thought you approved. For an OEM leather bag manufacturer like Marrant, sample approval is the gate between development and production — and the buyer should never push it open with only a quick photograph.
Most buyers check the colour and the logo, then move on. What the industry won’t tell you is that the most expensive mistakes hide in the details you glance at once — a zipper track that binds after five opens, a handle attachment that pulls loose under load, a lining seam that frays before the bag even ships. A ten-minute hands-on check can save a three-month rework argument. How many wholesale leather bags have gone sideways because someone approved a sample from a WhatsApp photo? More than you’d guess.
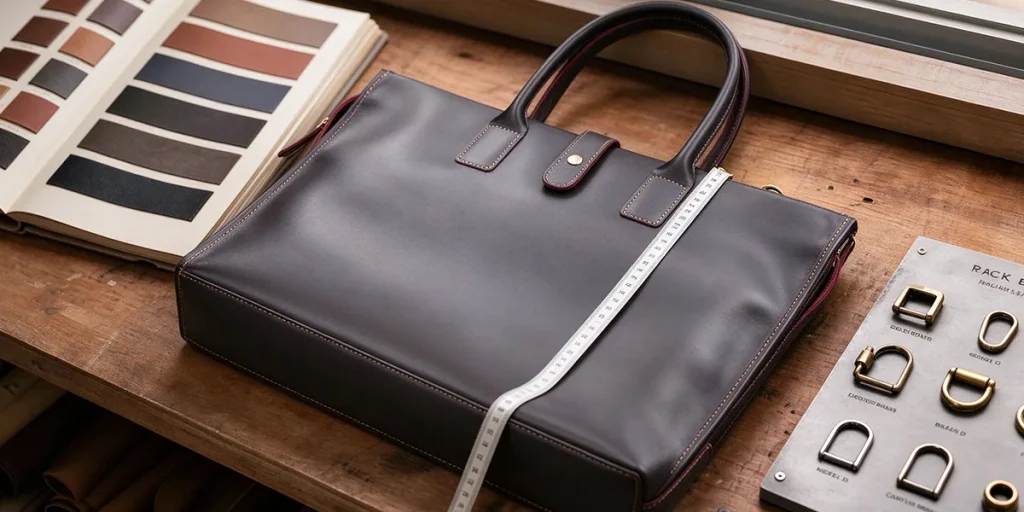
What sample approval actually controls
Sample approval is not “do I like it?” It is “does this bag match the written specification, and will it survive the order quantity?” An approved sample becomes the reference standard for inspection — every bag in the bulk run gets compared to it. Approve a weak sample and you approve a weak shipment.
Marrant works with buyers and brands sourcing wholesale leather bags and custom leather bag production, with orders starting from 50 pieces. Our sample room keeps a sealed reference sample for every approved style so the production line and quality team have the same target. When you’re placing bulk leather bag orders, that sealed sample is the contract in physical form — if a question comes up later about colour, construction or hardware, it’s the first thing both sides reach for.
The 12-point leather bag sample approval checklist
Work through the list in order. Write every comment against the specification’s callout numbers, not as a general feeling. “Handle drop 2 cm short” is actionable; “looks a bit off” is not.
| # | Check | What to verify | Pass / fail signal |
| 1 | Overall dimensions | Body length, height, depth, handle drop and strap length at the agreed measurement points, within stated tolerance | All points within ± tolerance; note which point is out if not |
| 2 | Leather match | Grain, colour, finish and thickness of body, flap, handle and gusset panels against the approved swatch | Matches under natural daylight; no unexpected gloss, texture shift or colour edge between panels |
| 3 | Hardware finish & function | Buckles, rivets, D-rings, snap buttons and magnetic clasps — finish matches reference, each opens/closes cleanly | No plating scuffs, no misaligned snaps, no wobbly rivets |
| 4 | Zipper operation | Main zipper and pocket zippers — smooth pull from end to end, no binding, tape sits flat | Puller glides without force; zipper track doesn’t wave; teeth don’t catch the lining |
| 5 | Stitching consistency | Stitch density, thread colour, backtack at stress points and straightness along seams | Even spacing, matching thread, no skipped stitches or loose ends inside or out |
| 6 | Logo branding | Position, size, method (deboss / emboss / metal plate) and clarity as specified | Centred or at agreed measurement; crisp edges; no bleed or smudge |
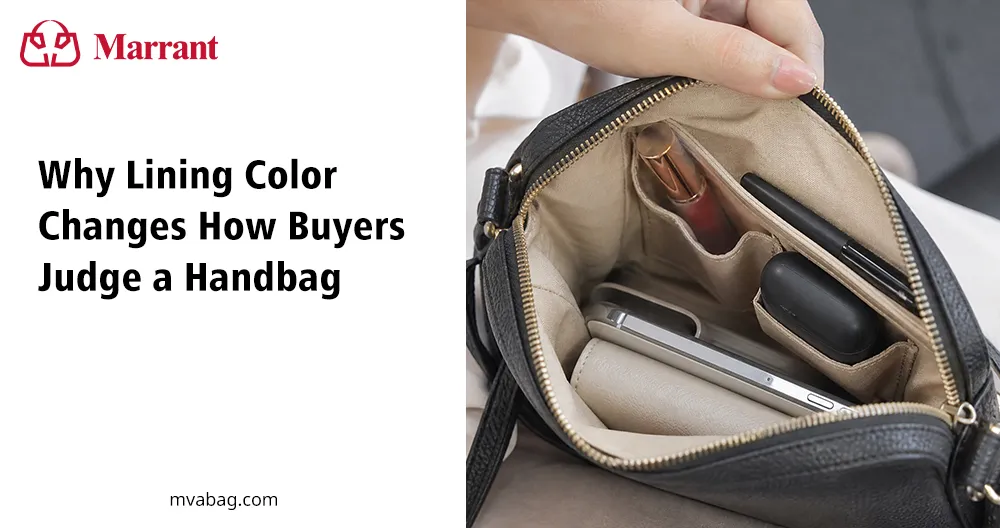
| 7 | Interior & lining | Lining material, pocket sizes, divider positions and internal label text | Pockets hold the stated item size; lining is smooth; label text matches |
| 8 | Edge finishing | Burnished, painted or folded edges on straps, handles and cut edges | No raw fibre showing; edge coat even, not sticky or chipped |
| 9 | Handle & strap attachment | Reinforced stitching or riveting at connection points; pull-test the handle with reasonable weight | No movement at the attachment; reinforcement visible from inside |
| 10 | Shape & structure | Empty bag stands as intended; no leaning, twisting or panel distortion | Symmetrical from front and side; base sits flat; gussets even on both sides |
| 11 | Packaging & labelling | Hangtag, dust bag, tissue, barcode sticker and carton mark as specified | Correct tag attached; packaging matches the PO; barcode scans if required |
| 12 | Defect count | Scratches, marks, loose threads, glue stains or misalignments counted against the agreed AQL | Count matches or is below the agreed acceptable level for a sample |
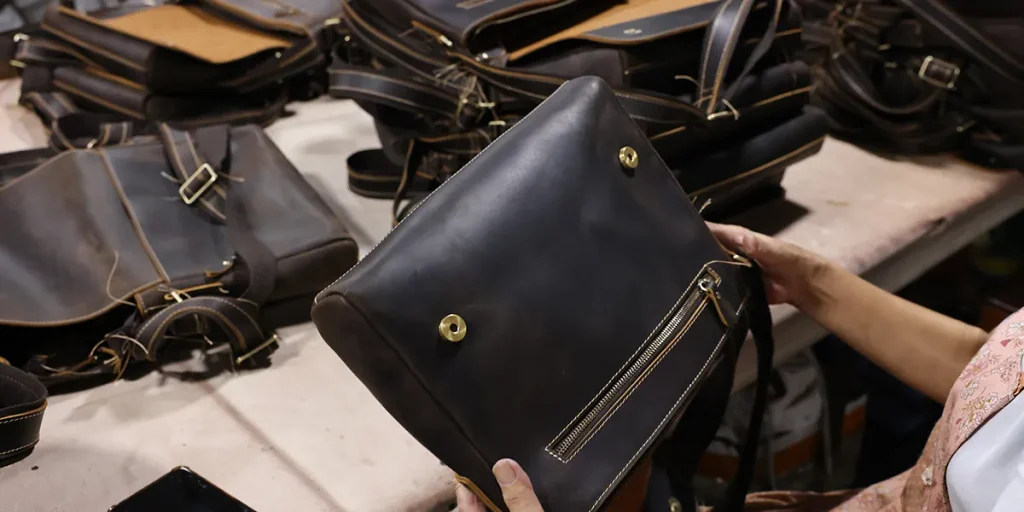
The check most buyers forget: load the bag, then look again
A bag can look perfect empty and sag horribly when it carries a laptop and a water bottle. Before you sign off, put the weight inside that the bag is designed to hold — 3 kg for a daily tote, 5 kg for a briefcase — and let it sit for ten minutes. Then check:
- Does the base hold its shape or does it bow in the middle?
- Do the handles stretch or do the attachment points pull?
- Does the bag still sit straight, or does it lean to one side?
- Do the zipper tracks stay flat under panel tension?
This one test catches more structural problems than all the visual checks combined. Why do so few buyers do it? Because it takes ten extra minutes and feels unscientific. Ten minutes versus a bulk shipment of saggy bags — you do the math. For bulk leather bag orders, a structural flaw that shows up under load doesn’t just hurt one customer return rate; it can sink an entire shipment’s reputation.
A real buyer story: the brushed-nickel buckle that wasn’t
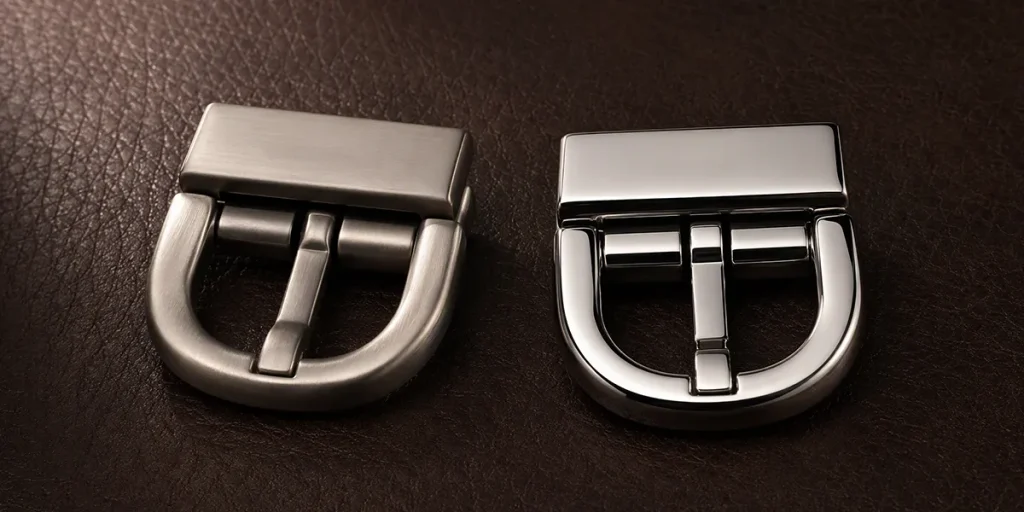
A few years back, a buyer from Australia approved a sample photo and placed one of their first bulk leather bag orders — 300 pieces. The photo showed brushed nickel hardware. The sample they received? Also brushed nickel — or so it looked in the indoor lighting. When the bulk shipment arrived, every buckle was polished nickel, shiny and slippery, nothing like the matte finish they had in mind.
The factory said the sample was approved. The buyer said the photo was misleading. Both were right, and both lost money reworking the order.
The fix was simple: hold the hardware next to the approved metal sample card under daylight, then tick box #3 on the checklist. That sixty-second check would have stopped the whole problem before cutting started. It’s the details you don’t argue about in advance that cost you later — and when you’re dealing with wholesale leather bags at volume, those details multiply fast.
How sample approval connects to the rest of the OEM process
Sample approval sits between the specification phase and the production run. Before you reach this point, you should already have confirmed the leather bag OEM specification sheet, agreed the MOQ arrangement and compared factory quotations on a like-for-like basis.
If you’re working with a new supplier, you may also want to review how to verify genuine leather before the bulk cut. And for the finished order itself, our leather bag quality standards guide covers the AQL inspection framework.
Quick summary: your pre-approval gate
Before you reply “approved” to the factory, make sure you can tick all twelve boxes and the load test. If anything fails, note it specifically, reference the spec callout number, and ask for a revised sample or a written confirmation that the issue will be corrected in bulk. A one-day delay on approval is cheap. A 500-bag correction is not.
Frequently Asked Questions
Q1: What should I check on a leather bag sample before approving bulk production?
Check twelve areas: overall dimensions and tolerance, leather colour and finish match against the approved swatch, hardware finish and function, zipper smoothness and alignment, stitching consistency and thread match, logo position and quality, interior lining and pockets, edge finishing, handle and strap attachment strength, shape and structural symmetry, packaging and labelling, and total defect count against the agreed AQL. Then do a loaded test for ten minutes to catch structural issues an empty bag doesn’t show. This checklist matters even more for wholesale leather bags at scale — a flaw you miss on one sample becomes a flaw on every bag in the run.
Q2: Can I approve a leather bag sample from photos only?
You can, but you shouldn’t rely on it. Photographs can hide hardware finish differences, stitching density, edge quality and structural problems — and screen colour never matches the physical material. An in-hand sample or a third-party inspection report is much safer, especially for a first order with a new OEM manufacturer or when you’re placing larger bulk leather bag orders.
Q3: How many sample rounds are normal for a custom leather bag?
Two to three rounds are typical for a custom leather bag style: a first prototype to check shape and construction, a second round to confirm materials, hardware and branding, and sometimes a third if there are structural or fit changes. Each round should get closer to the final specification, not start over. Working from a clear OEM specification sheet usually cuts one round out of the process.
Conclusion
A leather bag sample approval checklist is the single most cost-effective step between development and production — and for anyone sourcing wholesale leather bags or placing bulk leather bag orders, it’s non-negotiable. The 12 checks cover everything you can see (dimensions, leather, hardware, stitching, logo, lining, edges, shape, packaging, defects) plus the one test most buyers skip: loading the bag and checking for structural sag. The Australian brushed-nickel story isn’t an outlier — it’s what happens when a sample gets approved without hands-on verification.
Run the full list, write comments against spec numbers instead of vague feelings, and never sign off on a sample from photos alone. A day spent on sample approval saves months of rework, protects your margin, and keeps your brand’s reputation intact. Marrant works through this exact checklist with every buyer before bulk production starts — if your current supplier doesn’t, it might be time to ask why.